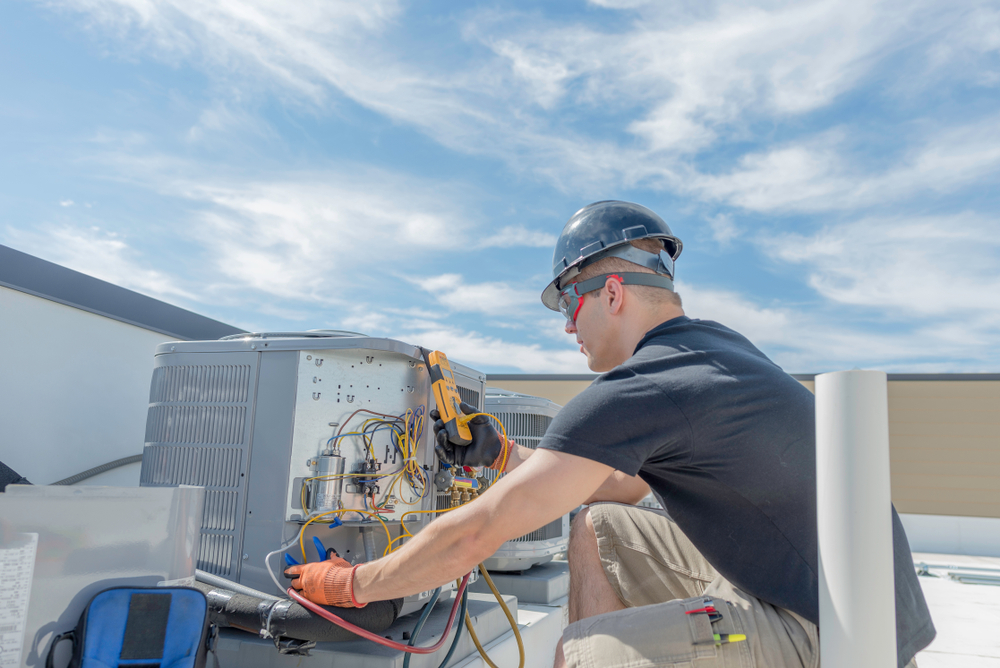
HVAC troubleshooting is an important process for maintaining the efficiency and functionality of heating, ventilation, and air conditioning systems. Whether you experience inconsistent temperatures, unusual noises, or higher energy bills, knowing how to diagnose and fix common issues can save you time and money. This comprehensive guide outlines the key steps involved in HVAC troubleshooting to help identify and resolve problems effectively.
Step 1: Familiarize Yourself with the Basics of HVAC Systems
Before going into troubleshooting, it’s a good idea to understand the basic components of an HVAC system:
- Thermostat: Controls the temperature settings.
- Air Filter: Filters dust and debris from the air.
- Ductwork: Distributes conditioned air throughout the building.
- Blower Motor: Circulates air in the system.
- Compressor: Pressurizes refrigerant for cooling.
- Condenser and Evaporator Coils: Manage heat exchange.
Knowing how these parts work together will help you pinpoint where the problem might be in troubleshooting.
Step 2: Check the Thermostat Settings
The thermostat is often the first place to look during HVAC troubleshooting. Ensure the following:
- The thermostat is powered on and set to the correct mode (heating or cooling).
- The temperature setting matches your desired indoor climate.
- Batteries (if applicable) are fresh and functional.
- If the thermostat is malfunctioning, recalibrating or replacing it may resolve the issue.
Step 3: Inspect the Air Filter
A clogged or dirty air filter can greatly affect your HVAC system’s performance. Look for:
- Dust and debris accumulation.
- Airflow from vents has decreased.
- Change the filter if it looks dirty or hasn’t been changed in the last 1-3 months. Maintenance helps avoid further system stress and ensures better indoor air quality.
Step 4: Check the Circuit Breaker and Power Supply
Sometimes, HVAC issues arise from electrical problems. Check the following:
- The circuit breaker has not tripped.
- The system is powered on and receiving electricity.
- There are no loose or damaged wires.
If electrical problems persist, contact a licensed electrician or HVAC technician.
Step 5: Check for Duct Leaks or Obstructions
Leaking or obstructed ducts can cause uneven heating or cooling. Check for the following:
- Visible gaps or tears in ducts.
- Ensure vents are not blocked by furniture or debris.
- Feel for inconsistent airflow near vents.
- Sealed all the visible leaks with duct tape or mastic sealant and cleared obstructions to restore airflow.
Step 6: Listen for Unusual Noises
Some noises can be indicative of specific HVAC problems:
- Squealing or screeching: This may be an indication of a worn belt or motor bearings.
- Banging or rattling: This could be a sign of loose parts or debris within the system.
- Hissing: This may be a sign of a refrigerant leak.
- Identifying the type of noise can help narrow down the problem and guide the necessary repairs.
Step 7: Refrigerant Level Check
Low refrigerant levels can also decrease cooling effectiveness. Warning signs of a refrigerant problem include:
- Warm air blowing through the vents.
- Ice formation on refrigerant lines or coils.
- Rising energy consumption.
- Handling refrigerant involves professional assistance due to safety and environmental laws. Have an HVAC technician assess and recharge the system properly.
Step 8: Outdoor Unit Inspection
The outdoor unit (condenser) is involved in the process of heat transfer. Ensure the following:
- The area surrounding the unit is clear of debris, such as leaves and dirt.
- The condenser coils are clean.
- The fan blades are intact and spinning freely.
- Clean the unit with a hose and soft brush if dirt buildup is visible, but avoid damaging the delicate fins.
Step 9: Test the Blower Motor
A malfunctioning blower motor can lead to inadequate airflow. To troubleshoot:
- Check for strange noises or overheating.
- Inspect the motor’s belts for wear or misalignment.
- Test the motor’s functionality using a multimeter.
- Replace the blower motor or its components if necessary.
Step 10: Monitor System Performance
After addressing the above steps, monitor your HVAC system’s performance. Look for:
- Consistent indoor temperatures.
- Steady airflow from vents.
- Normal energy consumption.
- If issues persist, schedule a professional inspection to identify deeper problems.
Common HVAC Troubleshooting Mistakes to Avoid
- Skipping regular maintenance, such as filter replacements.
- Ignoring minor issues that may lead to expensive repairs.
- Trying to undertake advanced repairs without proper training or equipment.
When to Call a Professional For HVAC Troubleshooting
Even though most HVAC troubleshooting can be done by homeowners, there are some situations when professional help is needed:
- Persistent problems even after attempting troubleshooting steps.
- Electrical or refrigerant problems requiring complex solutions.
- Maintenance and tune-ups.
Conclusion
HVAC troubleshooting involves a systematic approach in the diagnosis of common issues and their resolution. Follow these 10 steps, and you will improve the efficiency and longevity of your system. With regular maintenance and timely repairs, your HVAC system will keep running smoothly, thus giving you year-round comfort and saving energy.
Comment (1)
Comments are closed.


HVAC Troubleshooting Guide: Quick Fixes & Tips
December 30, 2024[…] HVAC Troubleshooting Guide: Quick Fixes & Expert Tips […]